QR Code For Wedding RSVP: Set It Up in 4 Easy Steps | Scanova
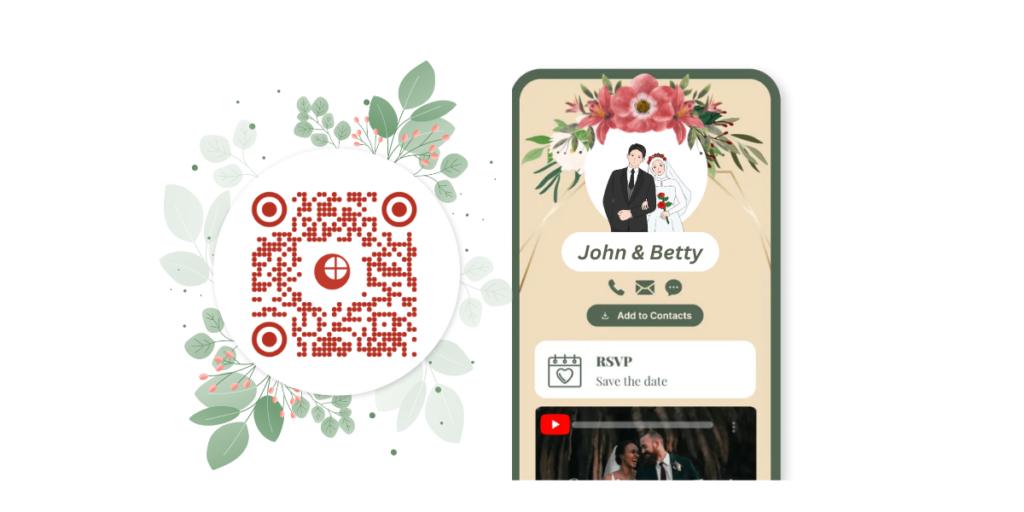
In a nutshell: A QR Code for wedding RSVP is a quick, easy, and contactless way to collect guest responses for your big event. Instead of asking people to fill out a card or call you, you add a QR Code to your wedding invitation. Guests just scan it using their phone, fill in their details, and submit their RSVP online. It’s sleek, simple, and saves everyone time. Great for digital-first couples or anyone who wants to avoid RSVP chaos.
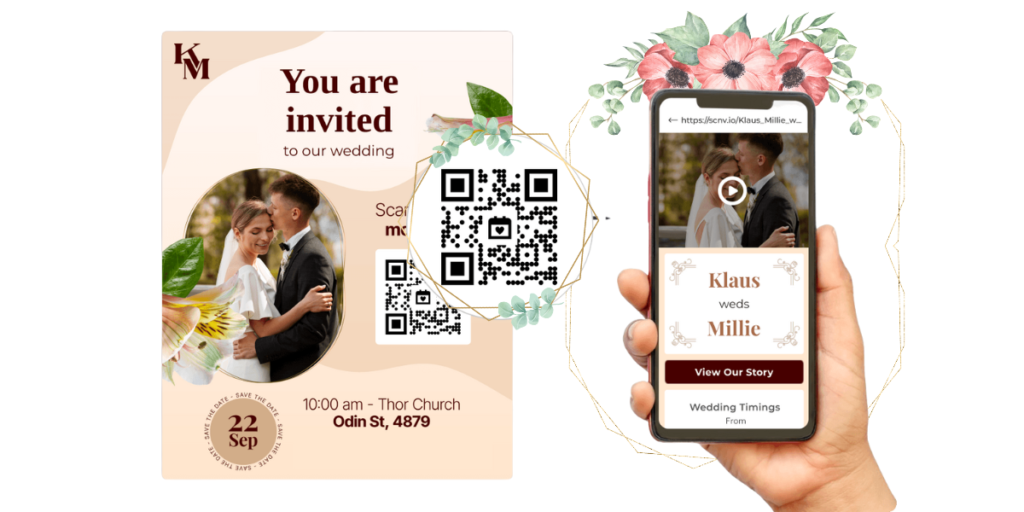
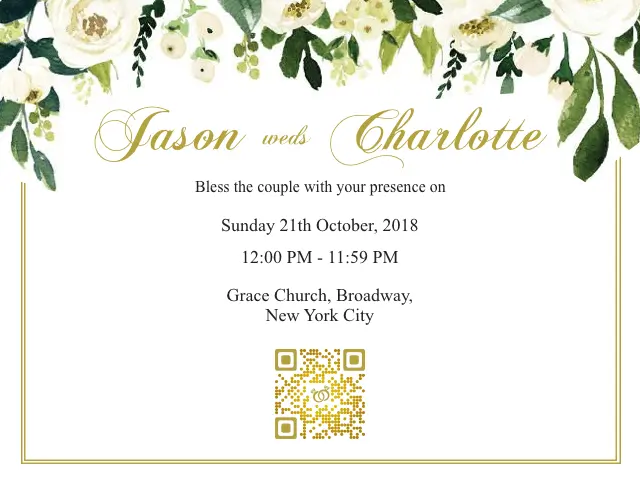
Are you getting ready for your big day? You might have your guest list ready, but now you need an RSVP QR Code for your wedding invitations.
Getting guests to RSVP is super important. The term RSVP is the abbreviation of (répondez s’il vous plaît), which means “please respond” in French. It tells your guests you need to know if they’re coming.
Traditional invitations come with response cards. Guests mail these back to you. But digital wedding RSVP systems work much better. This QR Code use case makes everything easier.
A QR Code wedding invitation lets guests respond instantly. They scan the code with their phone. They fill out a quick form. Done. No stamps or mail needed.
Let’s see how a QR Code helps you get it from your guests.
A. What is a QR Code for Wedding RSVP?
A wedding RSVP QR code is just a digital RSVP system. It makes responding super easy for your guests.
Your guests scan the QR code with their phone camera. A form opens up. They fill it out and submit. You get an email notification right away.
This beats traditional mail by miles. No more waiting weeks for responses. Plus, guests can save your wedding date to their phone calendar.
No more “I forgot the date” excuses.

B. How to create a QR Code for Wedding RSVP?
Now it’s time to create your own QR Code for Wedding RSVP! Don’t worry, it’s an easy process. Just follow these 5 simple steps:
Step 1: Choose a QR Code generator
Pick a reliable tool like Scanova that lets you:
- Link to a Google Form, RSVP landing page, or contact form
- Customize the QR Code design to match your invitation
- Download print-ready, high-resolution files
Step 2: Go to your QR Code tool and choose Wedding QR Code
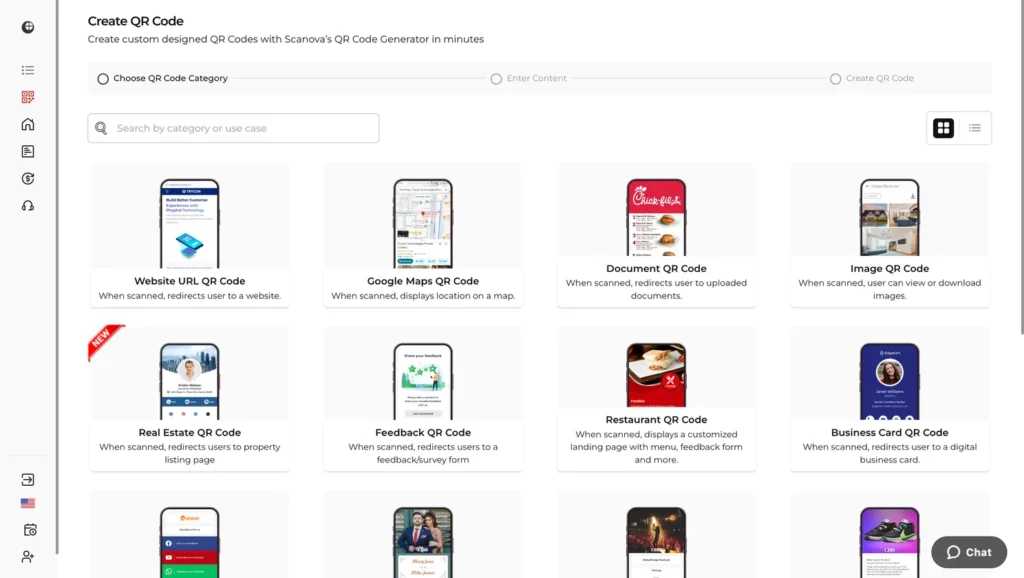
1. Choose your browser of choice and head to Scanova, and select the Wedding QR Code from the list of available options
2. Begin customizing your landing page by adding the Page Title and Banner Images. Also, you can add up to 10 description boxes and buttons
In this step, you can add details like Date, Time, Venue Address, and File.
You will also notice an All Day Event option. It helps you avoid adding an end date (in case it’s not needed). Neat, right?
Now we finally arrive at the RSVP section.
Step 3: Create and design the digital RSVP form
3. Here, tap on the Get Email Responses. It lets you add the email address where you will receive your guests’ responses.
4. In the Add RSVP option, you can specify the end date for capturing the RSVPs.
5. Next, you’ll see the option to specify additional guests invitees are allowed to bring. The minimum number is 1 and the maximum is 50.
Moving on, you’ll see the Add Question Block option. Using it, you can ask questions such as guests’ meal preferences or any other details. The answer can be recorded in multiple options or through paragraphs.
6. You can also customize the Submit Button option in the next step. The options available at your disposal are design, color, and width. The final step involves customizing the form’s formatting
7. Once you’re done with all the options, you can click Continue to finalize
Step 4: Customize Your QR Code Design
8. Name your QR Code on the next page that loads, and move forward. A QR Code image will appear on the right. Under it, you’ll find the Edit Design option. You can click on it to customize the design
9. Once done with the QR Code’s design, update changes, and click on the Download button. Sign up for a free 14-day trial. You won’t have to enter any credit card details
10. Once done with the sign-up, click on the Download button again. Input the size and the format of the QR Code you require
Now, you’re ready to use your QR Code for Wedding RSVP!
C. How to see your digital RSVP responses?
We’re pretty sure that you’re on your way to creating a QR Code for a wedding RSVP. But how would you know the details of guests’ responses?
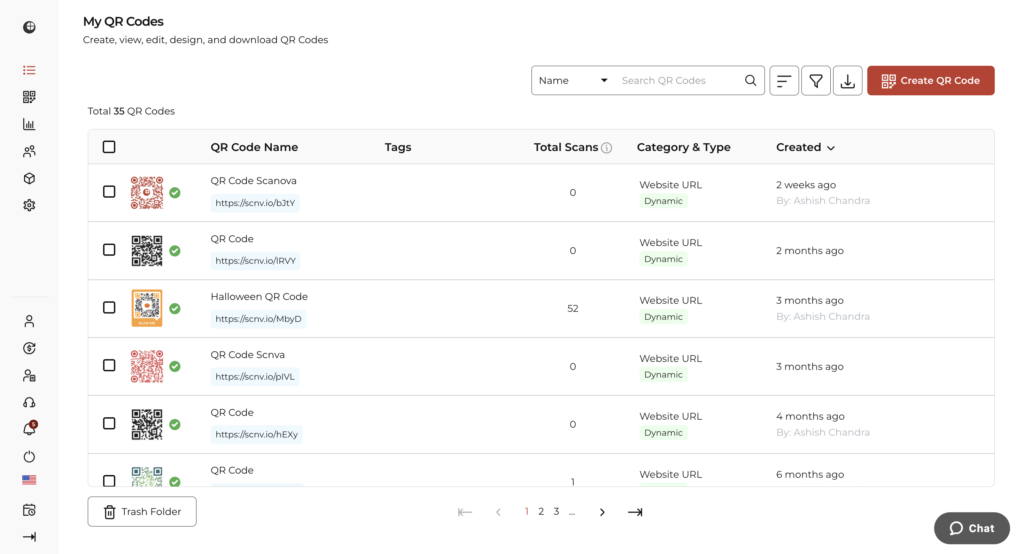
You won’t have to face any hassles in getting the RSVP data. You can use the dashboard to get it directly. Here’s how!
- Open your browser and log in to your Scanova account
- Tap on View/Edit QR Code
- Scroll down & click on ‘Generate’ from the ‘Download Data’ section
- Next, you will receive a notification on your registered email id
- To access the RSVP data, click on the link received
You can even get the RSVP data directly to your email. Follow these steps to enable it:
- Log in to your Scanova account
- Click on View/Edit on your Wedding QR Code section
- Under Content Tab, again tap on View/Edit
- Tap on ‘Get Email Responses’ under the RSVP bar
- Add your registered email address
- Finally, scroll down to click on Apply
That’s it! Now you’re all ready to receive RSVP responses via your email.
D. What else can a Wedding RSVP QR Code do?
A Wedding QR Code is not just meant to record your guests’ RSVP responses. In fact, there are other use cases as well.
Let’s have a look at them:
1. Share the venue location with your guests

You’d have seen that every invitation card comes with the venue address on it. And on the wedding day, you’ve to search for the address on your maps application to start driving.
Imagine how simpler it would be if the map’s location came straight on the invitation. Not sure what it means?
Besides getting the guests to RSVP, the same QR Code can also help you share the map location of the venue right away.
That means as people scan the QR Code, they are taken to the location on their phone’s maps app. Quite easy, isn’t it?
2. Share the organized seating plan
You don’t want any awkward moments with guests locking horns for the seats. Right?
You can easily tackle this issue. In the QR Code, also add the seating plan for the guests to see beforehand. This will ensure that your big day goes smoothly, without any interruptions.
3. Make it easy to share pictures
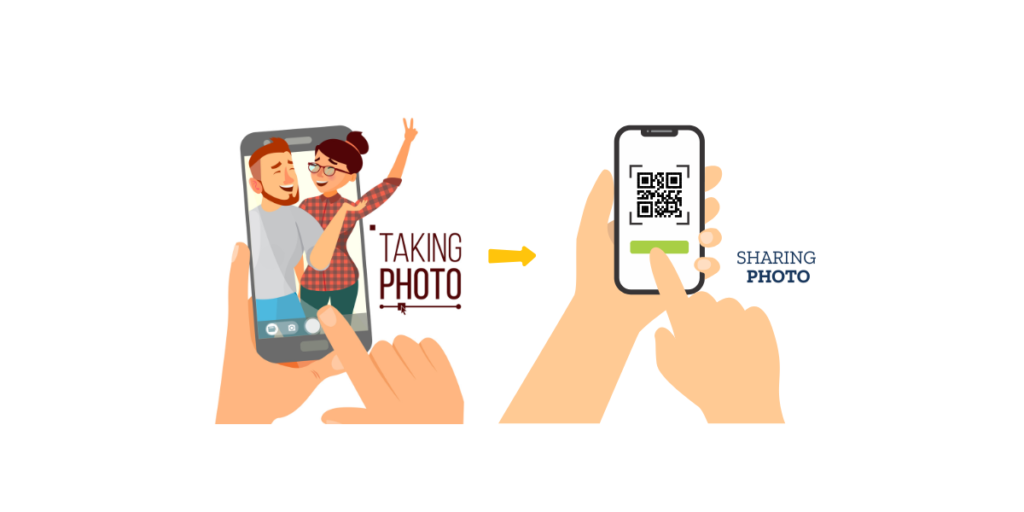
Everyone loves to capture memorable moments. There’s no doubt about it.
Scanova QR Code Generator gives you the option to add your custom banner images. You can add up to five images.
You can use this option to highlight your pre-wedding photos. Better yet, you can add website links that will direct the end users to your wedding video highlights.
There’s no limit to the things that you can do with website links. The possibilities are endless.
Pretty convenient! Don’t you agree?
E. Advantages of using a Wedding QR Code
We’re sure that now you’re pretty versed in how to create a QR Code for a Wedding RSVP. There are other use cases as well that you might use as per your needs.
Now let’s see the advantages of using a Wedding QR Code!
1. Time-saving
It saves the time of the guests as they simply have to scan the QR Code to RSVP (and a lot more). No more hassles of sending emails or texts to various apps.
2. Environment-friendly
When you send digital invites for the wedding, you help Mother Nature in return. There is probably no better way to do your bit than creating your QR Code for Wedding RSVP.
3. Cost saving
A QR Code for Wedding RSVP not only helps the environment but also saves costs.
You save considerable money when you cut down on printing cards or invites for wedding RSVPs. Win-win, right?
F. Best practices for creating a Wedding QR Code
Well-versed in the advantages that a QR Code for Wedding RSVP offers? Let’s now look at the best practices for creating a Wedding QR Code.
1. Editable QR Codes with content flexibility
Say you specify an email address for receiving RSVPs. But now, for some reason, you need to change your email address.
These edits are possible even long after your QR Code has been created. It is due to the reason that your QR Code for Wedding RSVP is dynamic in nature.
The functionality of your QR Code will remain the same, unlike a static QR Code, which is permanent in nature. A dynamic QR Code can be edited anytime you want.
When you create your Wedding QR Code using Scanova, you can even download the RSVP data.
2. Ensure optimal readability
We’re pretty sure that you would want your QR Code to work effortlessly, right? A pixelated QR Code is unattractive to look at, but also isn’t functional.
In order to ensure that, export a high-quality image of the QR Code in formats such as SVG, EPS, and PDF. They don’t pixelate despite any resizing or printing.
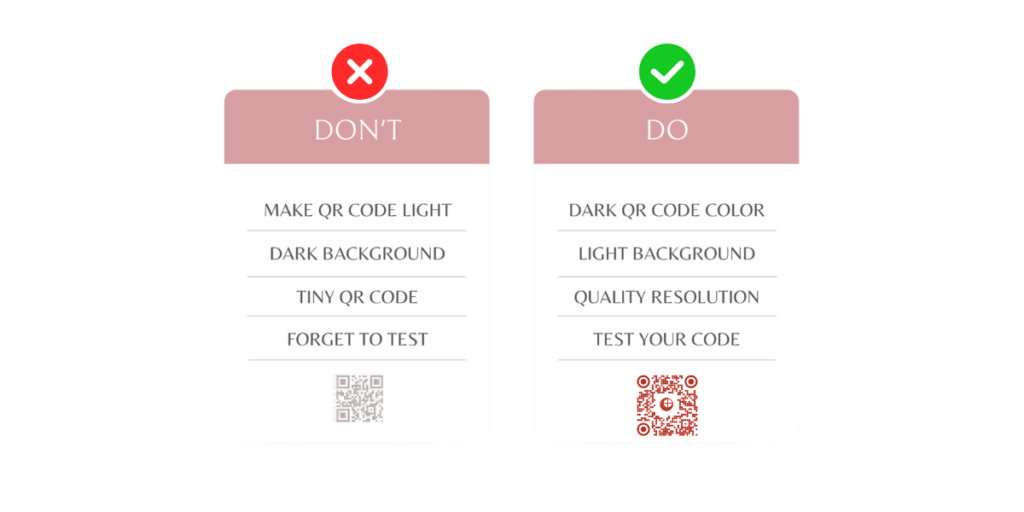
Also, if you’re planning to experiment with colors, you should:
- Choose a dark color with a light background (and vice-versa)
- Ensure enough contrast between the background and the foreground
3. Test your QR Code before sharing
You would not want to send out erroneous QR Codes to your guests, right?
So, before you share or print out your QR Code for Wedding RSVP, test it.
You can even test them using multiple devices and with different operating systems, like Android or iOS.
Ensure that the QR Code directs to your intended website, form, or venue location.
4. Your QR Code should be properly sized
You have to ensure that your QR Code for Wedding RSVP is properly sized. If the QR Code is too small or too large, it will lead to scanning issues.
To tackle this, here’s a helpful guide to calculate the ideal QR Code size for your use case.
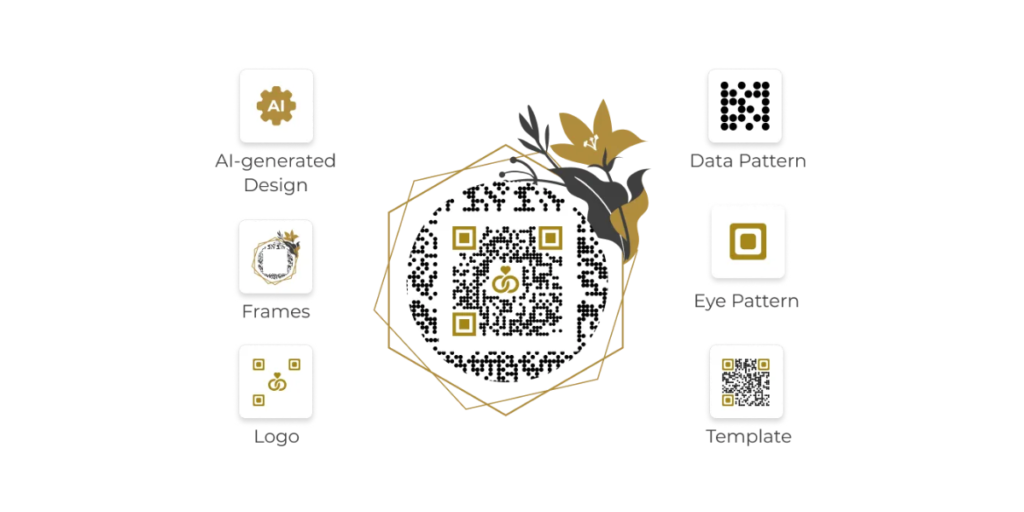
5. Include custom logos and colors
A standard black-and-white QR Code doesn’t look attractive. You wouldn’t want that on your wedding invite, right?
A customized QR Code not only looks attractive but also leads to higher scan rates.
So if you want to spice up your QR Code for Wedding RSVP, consider customizing it. You can read more about it here.
6. Size specifications for printed QR Codes
Your QR Code needs to be the right size to scan properly. Too small and phones can’t read it. Too large and it looks weird on your invitation.
For printed wedding invitations, aim for at least 1 inch by 1 inch (2.5 cm x 2.5 cm). For business card size invitations, 0.8 inches (2 cm) works fine.
If you’re printing on large posters or signs, go bigger. A 2-3 inch QR Code works great for table displays.
7. Make it accessible for elderly guests
Some older guests might not know how to scan QR Codes. Here’s how to help them:
Print the QR Code larger for easier scanning. Add simple instructions like “Point your phone camera at this square.”
Always include a backup option. Add a phone number or email address for traditional RSVPs. Some guests prefer calling anyway.
Consider adding a short URL below the QR Code. Tech-savvy guests can type it in if scanning doesn’t work.
8. Choose the right colors
Dark QR codes on light backgrounds work best. Avoid light colors like yellow or pink for the QR code itself. Black on white gives the best scan rates.
If you want colors, make sure there’s enough contrast. Dark blue on light pink works. Light blue on white doesn’t.
Summing Up
Weddings are occasions to celebrate love and kinship. But they can also be stressful, especially if you’re self-prepping for the big day.
Whether you’re organizing your own wedding or working as a wedding planner, it’s always challenging to persuade guests to RSVP.
But with a QR Code for Wedding RSVP, expect timely and efficient response rates.
If you’re still reading, you’ve already learned everything about QR Codes for Wedding RSVP. If you have any questions, let us know in the comments.
