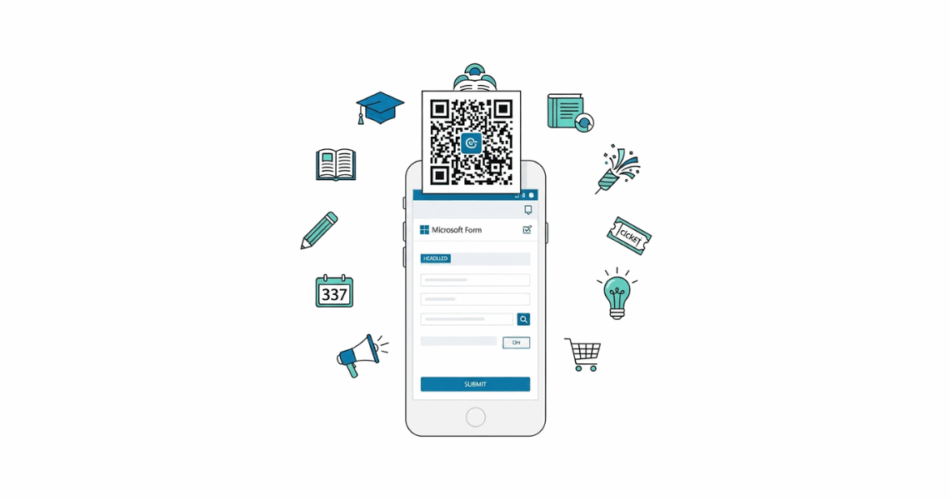
In a nutshell: A Microsoft Forms QR Code lets people open surveys, quizzes, or registrations instantly on their phones. It boosts participation, ensures accurate data, and supports use cases like classroom activities, events, and feedback. Microsoft Forms offers a built-in generator, while Scanova adds customization, analytics, and dynamic editing.
Imagine being able to share a survey or quiz with just a single scan. Microsoft Forms, a popular tool for creating online forms, lets you do exactly that using QR Codes.
In this friendly guide, we’ll explore Microsoft Forms QR Codes: what they are, how they work, and why they’re so useful.
Whether you’re a teacher, a marketer, or just a curious user, this Microsoft Forms QR Code blog post will walk you through step-by-step tips to generate your own QR Codes, best practices for success, and FAQs to answer common questions.
Let’s dive in!
QR Codes particularly increase participation among younger demographics (24-34 years) by 6 percentage points, lower-income groups by 7 percentage points, and single participants by 11 percentage points. Source: surveyinsights
A. What is a Microsoft Forms QR Code?
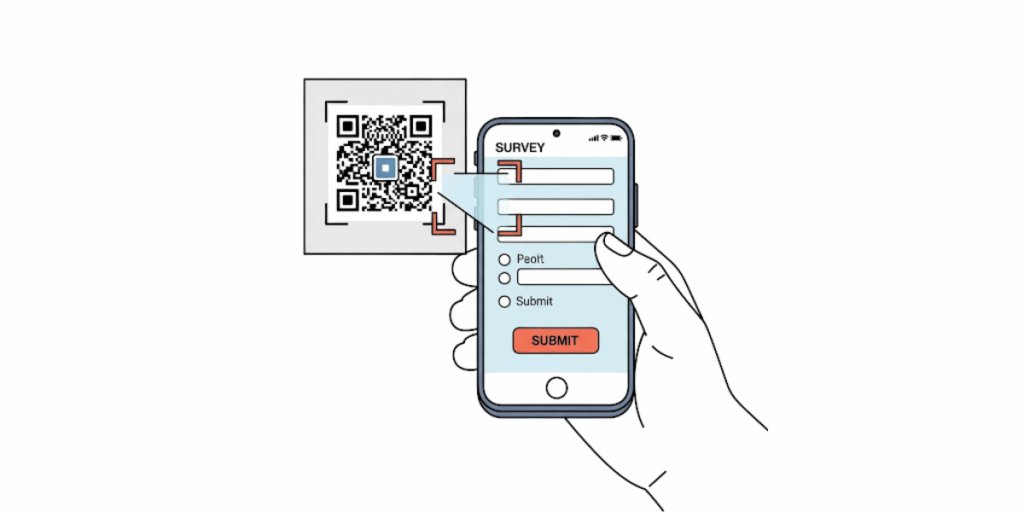
A Microsoft Forms QR Code is simply a QR (Quick Response) barcode that, when scanned with a smartphone or tablet, opens up a specific Microsoft Form (such as a survey, quiz, or feedback form).
Microsoft Forms is an online application for creating forms and collecting responses. By converting a form’s link into a QR Code, you make it effortless for people to access the form; no need to type long URLs or search for links.
When someone scans the QR Code using their phone’s camera (or a QR scanning app), the phone recognizes the code and immediately launches the form in a web browser.
How does it work?
Microsoft Forms actually provides a built-in way to generate a QR Code for any form you create. In the form’s Share options, there’s a QR Code icon; clicking it produces a unique QR image linked to your form.
You can download that QR Code image and include it on flyers, slides, emails, or anywhere your audience can scan it.
Once scanned, the form opens instantly, ready to be filled out. It’s a fast and convenient method to distribute your form broadly.
B. How to generate a QR Code for a Microsoft Form?
The good news is that creating a QR Code for your Microsoft Form is very easy: you don’t need any special software beyond Microsoft Forms itself.
In this section, we’ll go through the simple steps to get your QR Code using Microsoft Forms’ built-in feature.
Let’s start with the basics:
Step 1: Create your form on Microsoft Forms
If you haven’t already, log in to Microsoft Forms and build the form or quiz you want people to fill out. Add your questions, images, and so on.
Make sure your form is set to the correct settings (for example, if you want anyone to respond, set it to “Anyone with the link can respond”; or restrict it to your organization if needed).
Step 2: Go to the “Share” option
Once your form is ready, click the Share button at the top right of the Microsoft Forms editor. This opens the sharing pane, where you see multiple ways to collect responses, like sending a link, email, embedding in a webpage, etc.
Step 3: Generate the QR Code
In the share options, you’ll see an icon that looks like a small QR Code (usually the third icon, depicting a square of smaller squares). Click that QR Code icon.
Microsoft Forms will instantly create a QR Code for your form and display it on the screen. You should see your form’s title above the QR Code as well.
Step 4: Download the QR Code image
Next to the generated QR Code, there will be a Download button or link. Click it to save the QR Code image (typically a PNG file) to your computer. You can now use this image just like any other picture.
Step 5: Use the QR Code in your materials
Insert this QR Code image wherever you need it, print it on flyers, add it to a PowerPoint slide, include it in an email newsletter, etc. When someone scans it with their phone’s camera, it will automatically open the form in their browser, ready for responses.
A quick tip: When you print, ensure the QR Code is large enough to be scanned from a reasonable distance and not warped.
That’s it! You now have a working Microsoft Forms QR Code! The built-in method gives you a straightforward, static QR Code linked to your form. Static is fine for many cases, but keep in mind that a static QR Code’s content (the URL it points to) can’t be changed later.
If you ever update your form’s link or want to reuse the code for something else, you’d have to distribute a new QR Code image. Also, Microsoft’s default QR Code is a plain black-and-white square with no fancy design or tracking.
C. What if you want a customized or dynamic QR Code?
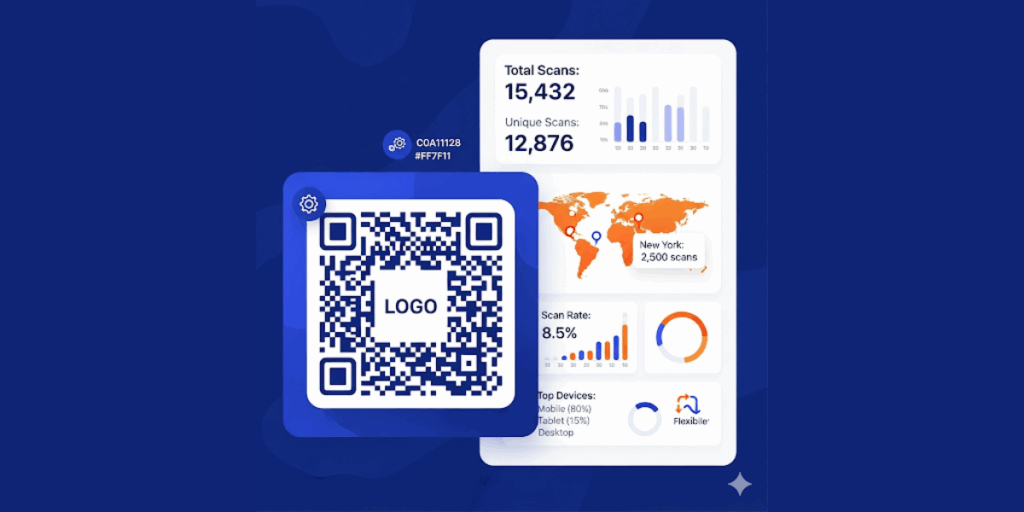
This is where QR Code generators like Scanova QR Code Generator come in.
They let you take your Microsoft Form’s URL and create a more powerful QR Code with extra features. Here’s how to do it!
Step 1: Go to Scanova
Head over to Scanova’s QR Code Generator and log in. If you don’t already have an account, sign up for the free 14-day trial to get started
Step 2: Pick your QR Code type
Since you’re creating a QR Code for a Microsoft Form, the easiest option is Website URL. Simply copy your form’s link from Microsoft Forms and be ready to paste it here
Step 3: Enter your details
Paste the Microsoft Forms link into the field and click Continue. Don’t worry if you want to update it later; if you choose a dynamic QR Code, you’ll be able to change the destination link anytime without reprinting
Step 4: Name your QR Code
Give your QR Code a clear label, like “Customer Feedback Form” or “Event Registration Form.” This helps you keep track of it in your dashboard later
Step 5: Generate your QR Code
Click Create QR Code. A live preview will appear instantly on your screen so you can see how it looks
Step 6: Edit the design (optional)
Want to make your QR Code look branded and professional? Click Edit Design to customize it:
- Colors – Adjust foreground and background colors to match your brand
- Patterns – Choose from different dot styles (squares, circles, rounded)
- Eyes – Customize the corner markers’ shape and color
- Logos – Drop your logo in the center to make it recognizable
- Frames & CTAs – Add a frame with a call-to-action like “Scan to Register” or “Scan for Feedback.”
Step 7: Download your QR Code
Once satisfied, download it in your preferred format. Use PNG for digital sharing, or SVG/PDF for print materials to ensure sharp quality
Step 8: Deploy and track
Place the QR Code on posters, emails, slides, or social media. If you created a dynamic QR Code, return to your Scanova dashboard anytime to track scans or update the destination link: no reprints required
In summary, Microsoft gives you a quick one-click QR Code option: perfect for many scenarios. But if you want to elevate your QR Code (for branding or tracking), a tool like Scanova QR Code Generator can help you create a custom QR Code that still opens your Microsoft Form but with added benefits.
D. Why use QR Codes with Microsoft Forms?
You might be wondering, why bother with a QR Code when I could just send a link?
The short answer: QR Codes make it easier and more engaging for people to respond, especially in situations where sharing a link is cumbersome.
Here are some key benefits of using QR Codes for your Microsoft Forms:
1. Instant access & convenience
QR Codes remove barriers. If someone has to type a long URL or follow a multi-step link, you risk losing their attention.
With one quick scan, they’re taken directly to your form, ready to respond. This immediacy can dramatically improve response rates.
For example, adding a “Scan to Register” QR Code on event posters increases sign-ups because people can act on the spot.
2. Engagement & interaction
A QR Code can turn a static piece of content (like a paper flyer or a presentation slide) into an interactive experience. Scanning feels fun and interactive, which can intrigue your audience.
Many consumers are now very familiar with QR Codes; nearly 45% of global internet users scan at least one QR Code per month, so people are generally comfortable with the process.
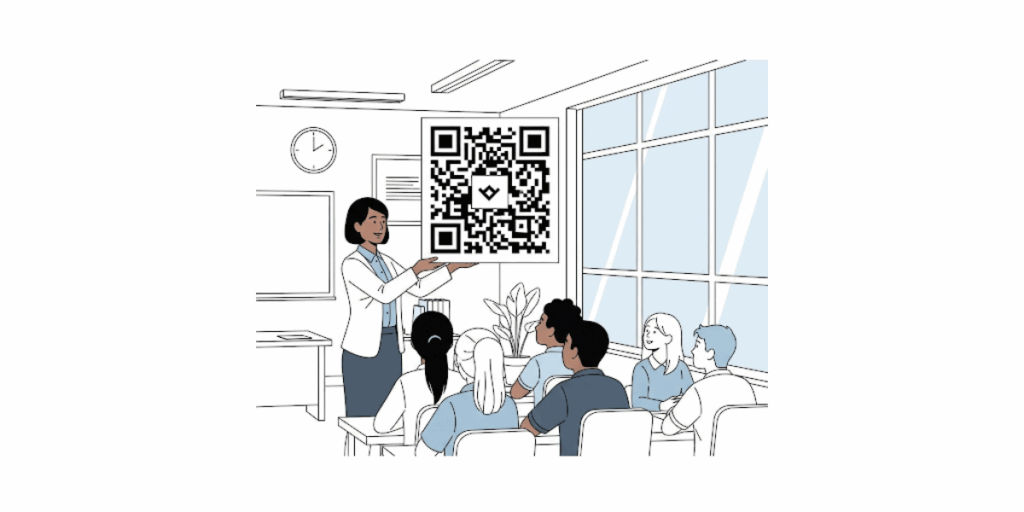
In an educational setting, a teacher displaying a QR Code quiz on the board transforms a routine quiz into a tech-savvy activity students enjoy.
In marketing, QR Codes on ads or product packaging invite curious customers to engage with your brand content easily.
3. Broader reach (Online to Offline)
QR Codes let you bridge offline and online channels seamlessly. You can print a QR Code on posters, brochures, product packages, business cards, anywhere, and instantly connect people to your online form.
This means you can collect data or feedback from audiences in physical locations without needing them to visit a website manually.
It’s great for events (think feedback forms at conferences, or sign-up forms at a booth), classrooms (quick polls in lecture halls), or retail stores (customer feedback forms on receipts). By placing QR Codes in the right spots, you capture responses from people on the go.
4. Improved data collection & accuracy
Because Microsoft Forms collects responses digitally, using a QR Code to get people into the form ensures the data goes straight into your system with no manual entry. This reduces errors (no messy handwriting to interpret or lost paper forms) and gives you real-time results.
For instance, if you run a training session and use a QR Code for an evaluation form, you can watch responses roll in live as attendees submit on their phones. It’s faster and more accurate than handing out paper surveys.
Additionally, digital surveys via QR Code often yield higher completion rates since users can do them at their convenience (during an event break, after a purchase, etc.) with their own device.
5. Higher engagement and response rates
Ultimately, QR Codes can significantly boost how many people participate. They meet users where they are on their smartphones. People are far more likely to scan a code in the moment than remember to visit a link later.
As a bonus, QR scans often happen when interest is highest (e.g., right after experiencing a service or seeing a poster). That immediacy tends to produce better response rates and more thoughtful feedback.
In fact, surveys have found that by removing barriers like typing URLs, QR Codes increase response rates and improve feedback quality.
Even marketing professionals have noted that having a QR Code generator built into Microsoft Forms is a major advantage; some teams stick with Microsoft’s solution specifically because it offers easy QR Code sharing for forms.
6. Contactless and hygienic
In a post-2020 world, the demand for contactless solutions has skyrocketed. QR Codes allow entirely touch-free interaction.
Attendees at an event can scan a badge QR Code to check in, or customers can scan a code to fill a survey, all without exchanging paper or touching shared devices. This not only feels modern but also caters to safety preferences.
For example, during the pandemic, many restaurants switched to QR Code menus; similarly, event organizers used QR-based forms for registration and health screenings.
7. Tracking and analytics (Advanced)
While Microsoft’s built-in QR Code is static (it just opens the form link and doesn’t track scans), if you use a third-party QR Code generator like Scanova, you can create dynamic QR Codes that offer analytics.
Dynamic QR Codes let you track how many times the code was scanned, when and where it was scanned, and even what devices were used. This can be incredibly useful for marketers.
Imagine you print different forms of QR Codes on different posters (or locations) – you could see which location gave more scans and responses, helping measure campaign ROI.
With analytics, QR Codes turn into a smart data-collection tool, not just a static image.
8. Free and easy to use
Generating a QR Code for a Microsoft Form is completely free and takes seconds. You don’t need any coding or design skills – the Microsoft Forms portal creates it for you with one click. Even customizing a QR Code through external tools has become very user-friendly. The bottom line is, there’s little barrier to trying it out. And given the big upside in engagement and convenience, it’s a no-brainer to use QR Codes for sharing your forms.
Now that we know why QR Codes are awesome for forms, let’s look at some real-world scenarios where people are using Microsoft Forms QR Codes to great effect.
E. Best Practices for Microsoft Forms QR Codes
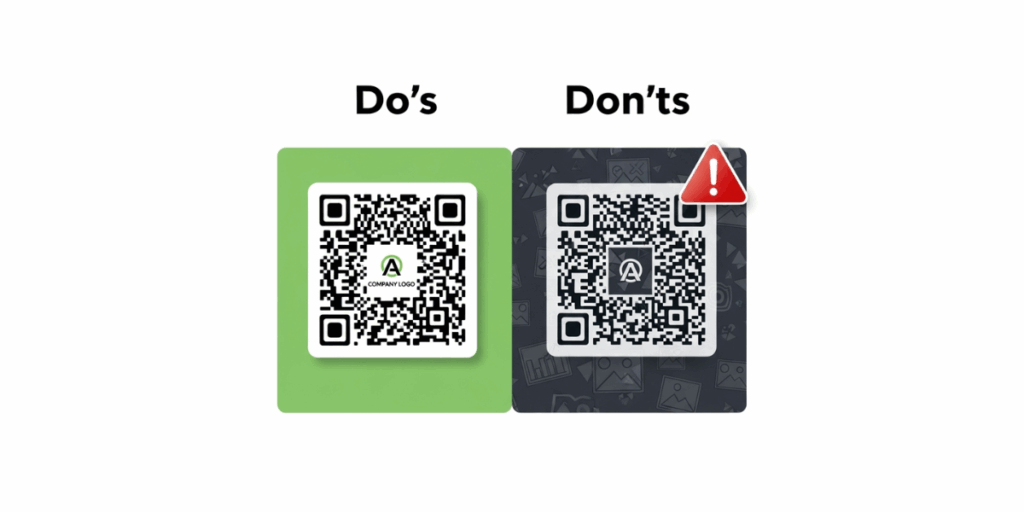
Using QR Codes is pretty straightforward, but a few best practices can make a big difference in how well your QR Code performs. You want to ensure that people notice your QR Code, can easily scan it, and get a great experience when they do.
Here are some important guidelines for designing, printing, and deploying QR Codes for Microsoft Forms:
1. Make it visible and accessible
Your QR Code should be easy to spot and reach. Place it where your audience’s eyes naturally go. On a poster, for example, the middle or upper area might work (with a clear call-to-action text).
If it’s on a slide, make sure it’s large and on a plain background. Avoid putting QR Codes at extreme bottom corners or anywhere people might have trouble reaching with their phone.
Also consider height: at an event, a QR Code at eye-level or a bit lower is easier for people to scan than one near the ceiling or floor.
2. Include a call-to-action (CTA)
Don’t assume people will scan a mysterious black square without context. Always add a short prompt or label explaining what the QR Code is for. For example: “Scan to take our survey,” “Scan to RSVP,” or “Scan this QR Code to open the form.” A little nudge goes a long way in encouraging scans.
In fact, clarity on the benefit (“scan to give feedback in 30 seconds and get 10% off”) can entice more users. Make the text friendly and action-oriented (e.g., “Share your thoughts, scan here!”).
3. Ensure high contrast and proper design
QR Codes work by cameras picking up the contrast between the dark and light modules. So, always use a high-contrast design: typically, a dark code on a light (usually white) background is ideal.
If you customize colors, avoid light colors for the code and dark backgrounds. Also maintain a “quiet zone” (empty margin) around the code – usually a margin of 4 units of the smallest square is standard.
Most generators include this automatically. If you add a logo in the middle, that can be great for branding, but don’t cover too much of the code pattern; use the built-in options that preserve scanability. Test any fancy design to ensure it still scans easily (more on testing in a moment).
4. Size matters
A common mistake is printing a QR Code too small. If it’s too tiny, people’s cameras might not focus or pick it up, especially from a distance.
As a rule of thumb, for print material, the code should be at least 2.5 cm (1 inch) on each side at a minimum, but larger if people will scan from further away.
One guideline suggests 1 cm of QR Code width for every 10 cm of scan distance. So if you expect someone to scan from ~1 meter away, a 10 cm wide code (~4 inches) is a safe bet.
If it’s on a flyer that people hold in hand, smaller can work, but err on the side of bigger for public displays. It’s better to be too large than too small – you want that “easy scan” experience.
5. Avoid problematic surfaces or media
Be mindful of where and how you print your QR Code. Glossy or reflective surfaces (like a poster under bright light or a TV screen with glare) can make scanning difficult.
Similarly, if you’re putting a QR Code on a curved surface (say, a bottle or badge), make sure it’s not warped. If using a digital display, ensure the resolution is high enough that the code isn’t blurry.
Always use a high-resolution image of the QR Code when printing, ideally the original PNG or a vector format (SVG/PDF) if available, to avoid any blurriness or pixelation that could confuse scanners.
6. Mobile-friendly forms
This is more about the form than the code, but it’s crucial: make sure your Microsoft Form is mobile-optimized.
Fortunately, Microsoft Forms are automatically mobile-responsive in most cases. Still, if you’ve embedded any content or if it’s a long form, test it on a phone.
The form should load quickly and be easy to scroll and complete on a mobile screen. Nothing will kill the enthusiasm of a person who just scanned your code faster than a form that’s hard to use on their phone.
7. Test, Test, Test
Before you roll out your QR Code to hundreds of people, test it yourself – and ideally get a few colleagues or friends to test too. Scan the code using different devices (iPhone, Android, different camera apps) to ensure it works universally.
Try scanning it in different conditions: good lighting, low lighting, at the size it will be used (print a prototype if it’s for print). Verify that it quickly focuses and opens the form. Also, test the form submission process briefly to confirm everything is smooth.
Catching any issues now will save you headaches later. It’s rare to have issues if you follow best practices, but for example, if you accidentally invert colors (light code on dark background) and some older phones can’t scan it, you’d want to know beforehand.
Or if you placed it on a weirdly patterned background and the camera struggles, adjust either the design or the background.
QR Code surveys show reduced response times compared to traditional methods, with some studies documenting 16-day average response times versus 19 days for traditional methods. Source: pmc
F. Frequently Asked Questions (FAQ) about Microsoft Forms QR Codes

Q1. How do I create a QR Code for Microsoft Forms?
It’s very easy. In Microsoft Forms, open the form you want to share and click the Share button. Then click the QR Code icon in the share menu (it looks like a square made of smaller squares).
A QR Code will be generated instantly. Click Download to save the QR Code image to your device. Now you can print or share that image. Anyone who scans it will be taken to your form.
(Tip: You can also use a QR Code generator like Scanova – just copy your form’s URL and paste it into Scanova to create a customizable QR Code.)
Q2. Do Microsoft Forms QR Codes expire?
The QR Code generated by Microsoft Forms does not expire as long as the form itself is active. It’s essentially an encoded link to your form. So if your form is still accessible (and not deleted or closed), the QR Code will continue to work indefinitely.
That said, if you set your form to accept responses only until a certain date or you manually close the form, then scanning the QR Code after that will show that the form is no longer accepting responses.
If you need a QR Code that you can update to point to a different form or link later, consider using a dynamic QR Code through a service like Scanova (with dynamic codes, you can change the destination even after printing the QR Code).
Q3. Is there an official Microsoft QR Code generator besides the one in Forms?
Microsoft Forms itself provides the built-in QR Code for forms, but Microsoft doesn’t have a standalone “QR Code generator” app for arbitrary content. The Forms QR Code is a nice feature, but it’s static and not editable.
For more robust QR Code needs (like custom design or tracking), you’d use a third-party generator. Microsoft’s focus is on integrating QR sharing within the Forms app rather than providing a separate QR Code service.
Q4. Can I customize the look of my Microsoft Form’s QR Code (color, logo, etc.)
Not through Microsoft Forms directly – the built-in tool will give you a standard black-and-white QR Code. However, you can certainly customize a QR Code for your form by using an external QR Code maker.
The process would be: copy the form’s URL, go to a QR Code generator (like Scanova), and create a new QR Code where you can choose colors, add a logo, or select a template design. Just make sure that whatever colors you choose have good contrast (e.g., don’t make it pastel-on-pastel).
A well-designed, branded QR Code can be more inviting and align with your event or brand aesthetics. After customizing, you’ll download the new QR Code from that service and use it instead of the default one.
Q5. How can I scan a Microsoft Forms QR Code? Do I need a special app?
These days, most smartphone cameras can scan QR Codes natively. On iPhones and most Android phones, just open the Camera app and point it at the QR Code as if taking a photo. Within a second or two, a notification or link should pop up on screen – tapping that will open the Microsoft Form in your web browser.
You don’t need to actually take a photo; the camera app recognizes the QR Code automatically. If by chance your phone camera doesn’t do this (older models might not), you can download any free QR Code scanner app from the app store. But for the majority of users, the built-in camera is enough. Once scanned, the form opens, and you can fill it out and submit it like usual.
Hopefully, these FAQs clear up any lingering questions. If you’re curious about something we haven’t covered, feel free to explore more or experiment with a test form and QR Code yourself!
Conclusion
Microsoft Forms QR Codes make it simple to collect responses on the go.
Students, customers, or event attendees can scan a code in seconds; no typing long links, no friction. That quick access often means higher participation and better feedback. It’s a smart way to connect your offline audience with your online form.
For small projects, Microsoft’s built-in QR option works fine. But if you want more, a dynamic QR Code is the better choice.
With Scanova, you can create branded designs, track scans, and even update your form link without changing the code. That flexibility is perfect for campaigns, classrooms, and client projects.
Ready to boost responses? Try Scanova’s 14-day free trial today. Create your Microsoft Forms QR Code in minutes, customize it, and see how much easier it is to engage your audience.
